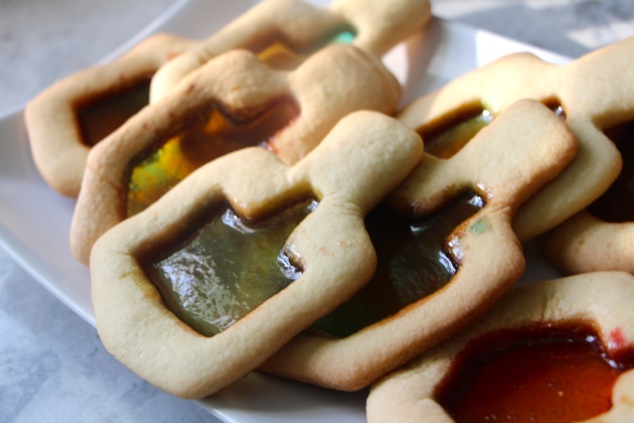
 One of my favorite Hanukkah concepts is the concept of light. Hanukkah’s remarkable story teaches us how in a time of great darkness, even a tiny source of light can be a sign of hope and triumph. The characters in the story highlight our responsibility to bring light to our lives and our world. Sometimes lighting up the darkness is a big task that requires great courage and effort; other times we find light in the small things we do like an encouraging word, a listening ear or even a smile.
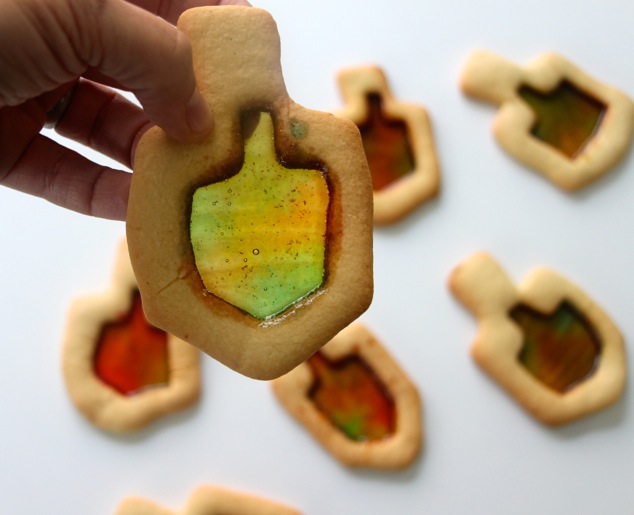
I see the LIGHT!
Today we bring that light with these simple cookies. 🙂 Since Hanukkah is the festival of lights I added a fun idea to the holiday cookies – a colorful window made out of hard candy! It is so cool and I love seeing the kids holding their cookies to the window and looking at the light shining through all the colors…
What a cool and ideal activity to share with kids – Melting colorful candy pieces inside a cookie is so much fun and I find it super interesting to discuss the concept of light in our lives with them. Most of all I LOVE this recipe because this dough is very friendly to little hands. Unlike butter based recipes that require special TLC when making and handling, this dough is very simple and very forgiving… The kids can work with it just like play dough and take their time creating their cookies over and over again.
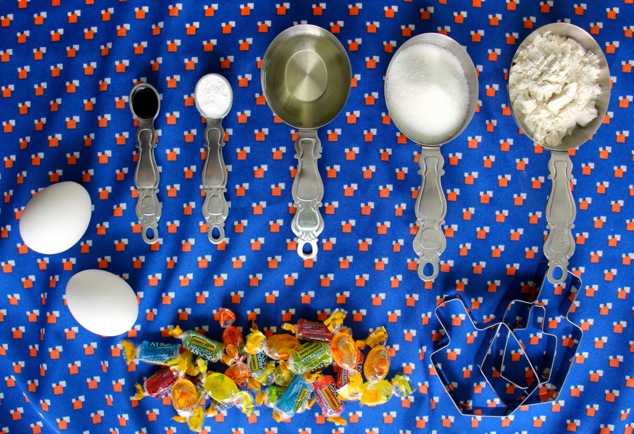 You will need:
[Makes 25-35 cookies]
2 Eggs
¾ cup Sugar
1 tsp. Vanilla Paste
½ cup Canola Oil
2½ cups Flour
1 tsp. Baking Powder
Hard Candy (about 30 pieces)
Let’s do this!
I call this recipe simple for a reason- there is no need to get out the heavy mixer or even the hand mixer, just have your whisk in hand and you are good to go!
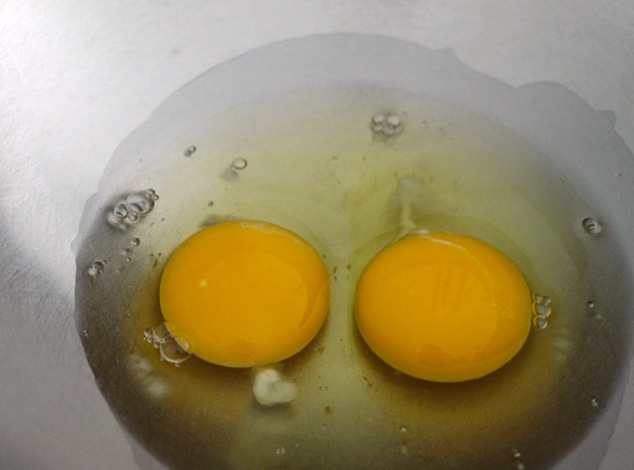
 Start with the eggs in a large bowl and whisk them away.
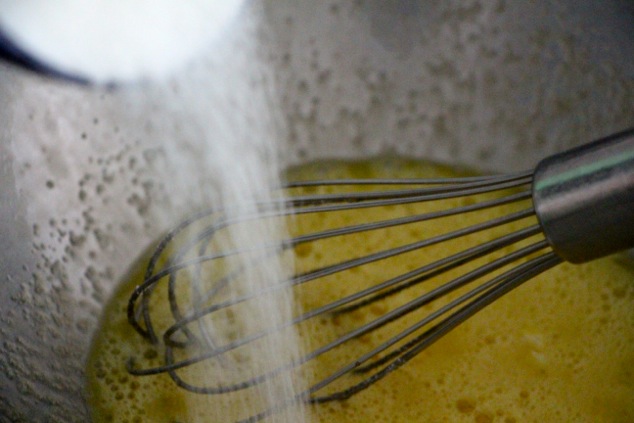 While whisking add the sugar gradually.
 The mixture starts to look light and fluffy.
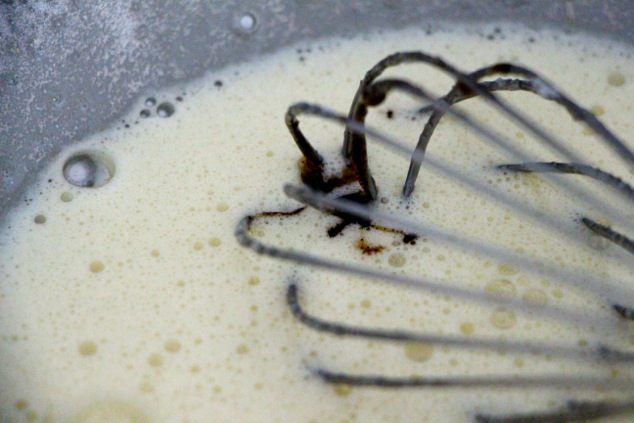 Add the vanilla paste and continue mixing.
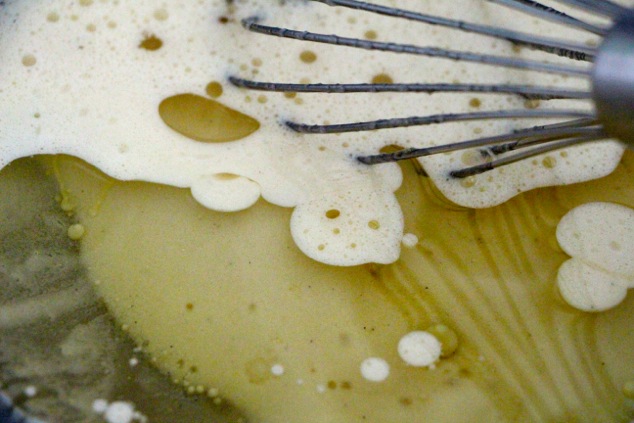 Slowly add the oil and continue whisking to combine well.
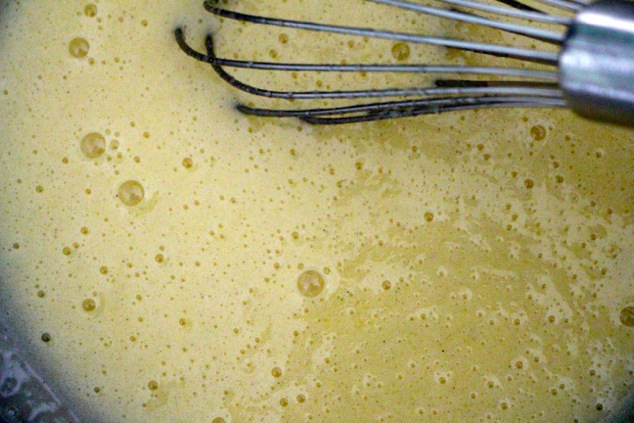 Now that the mixture is nicely unified, thank your whisk for all its hard work- we don’t need it any more. Time to add the flour and baking powder.
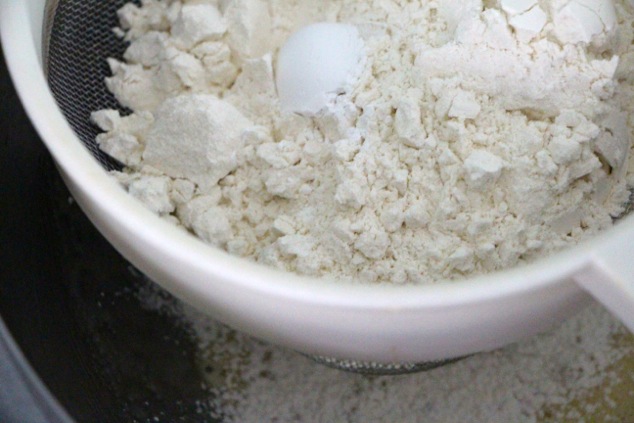 I add them through a sifter to avoid any lumps.
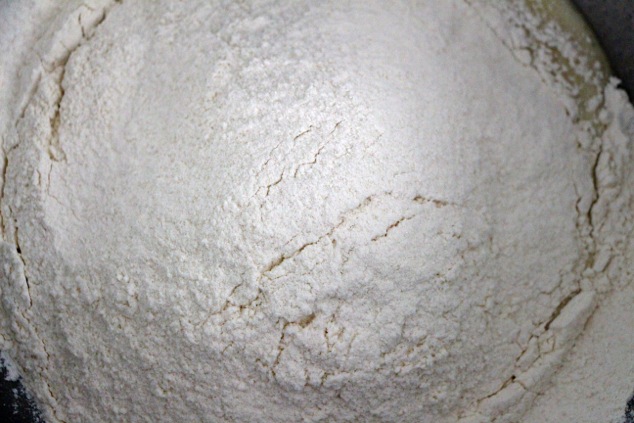
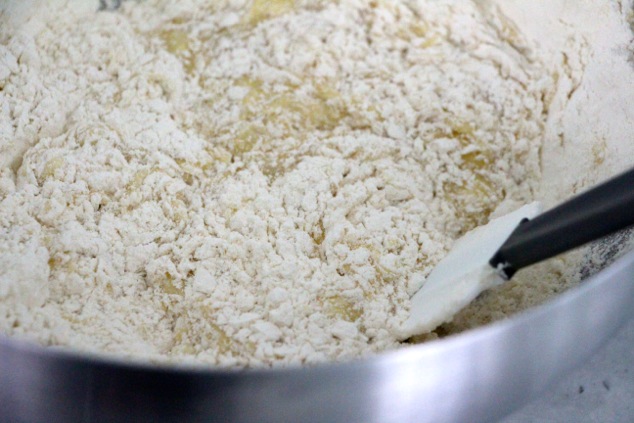 Now I use a spatula to fold the flour into the mixture until it all comes together.
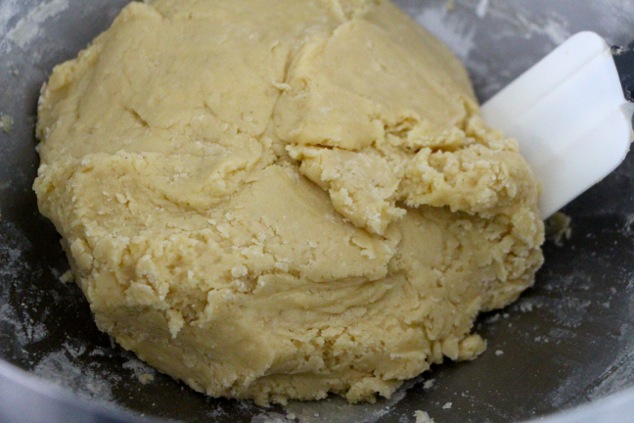
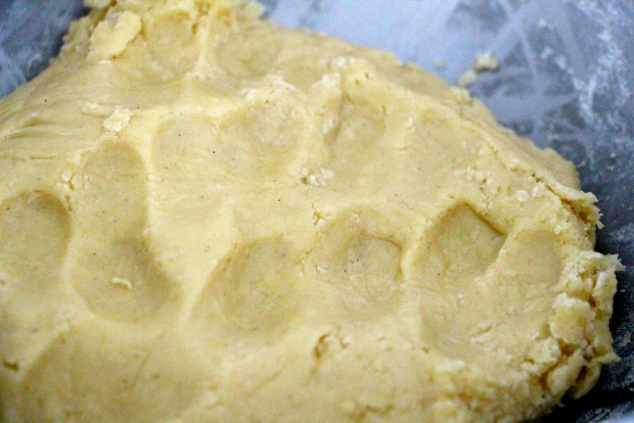 As soon as it looks like dough, I use my fingers to press it down and make sure the dough is smooth and not sticky.
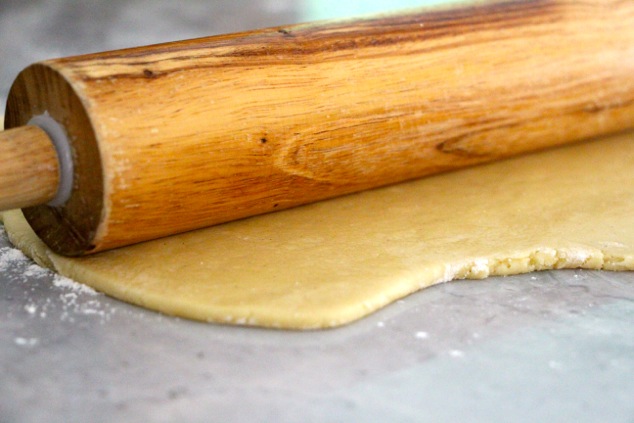 O.K. time to roll! Get the rolling pin and roll the dough flat to about a ¼ inch thickness.
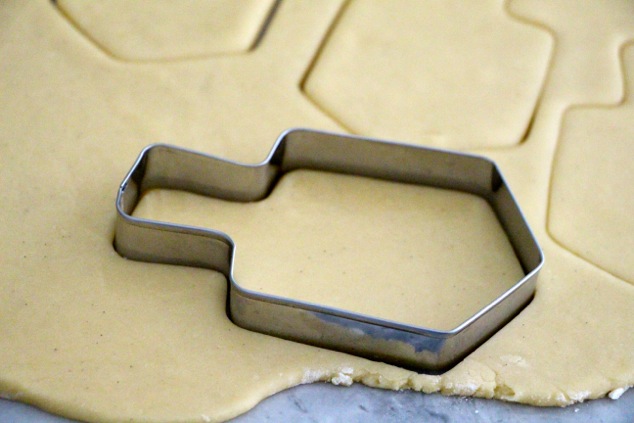
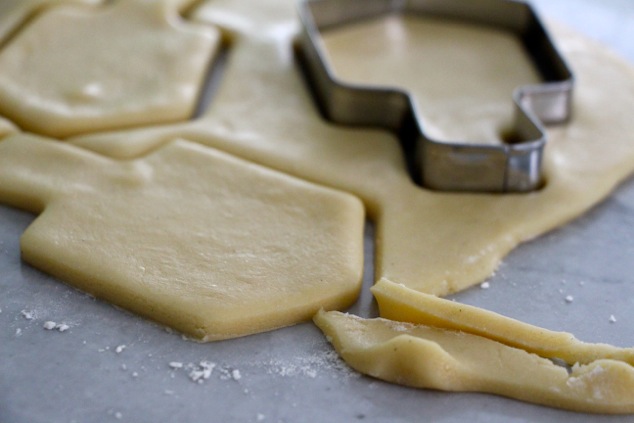 Using a cookie cutter create the cookie shapes.
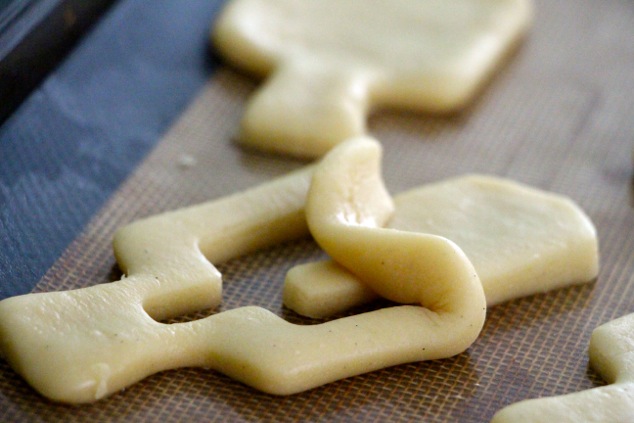
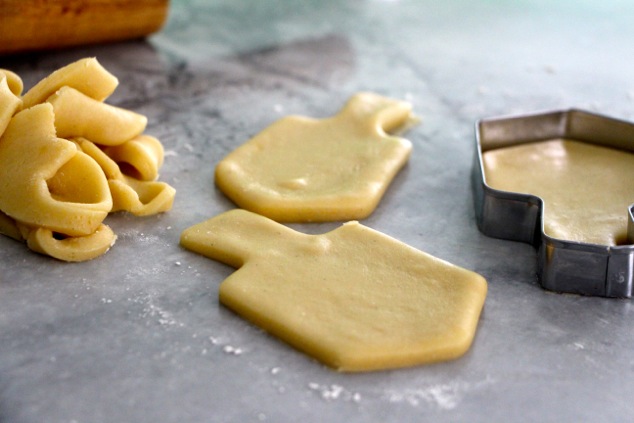 As mentioned before this dough is very forgiving and you can easily use the extras around the cookie cutter and roll it flat again to create new cookies.
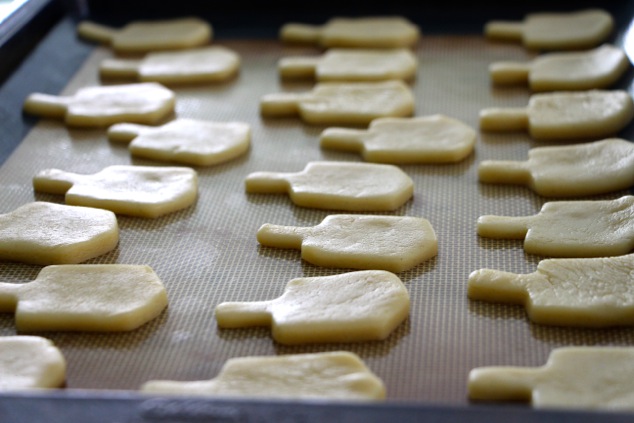
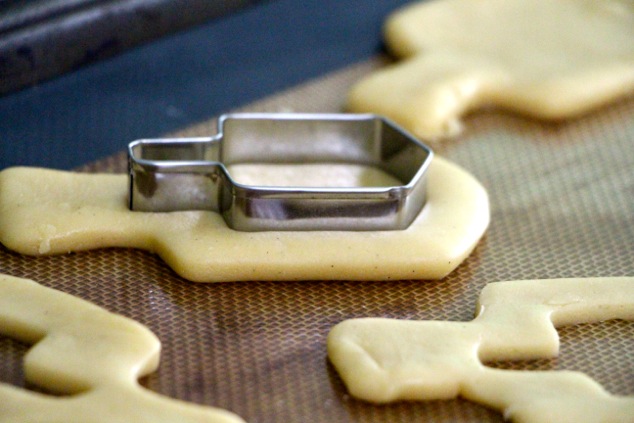
I move the cookies to the tray onto silicone sheets or parchment paper. I like to create the “window” in the cookies while they are on the baking trays – it will be very difficult to move them after they have the “window”… Use a smaller cookie cutter (any shape you’d like) and create a “cookie window” in the center of the cookie.
 Here is a little cookie bonus feature:
I use the inside parts (mine are little dreidel shapes), place them on baking sheet and bake them to these great mini dreidel cookies! Another option would be to collect the inside dough parts and form them into another dough ball, roll it flat again and create more of the same cookies.
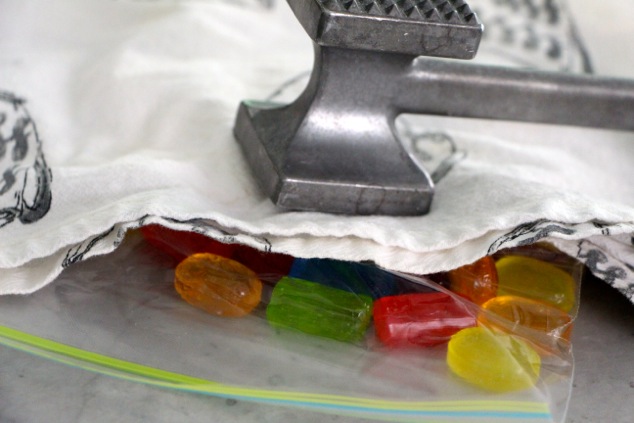
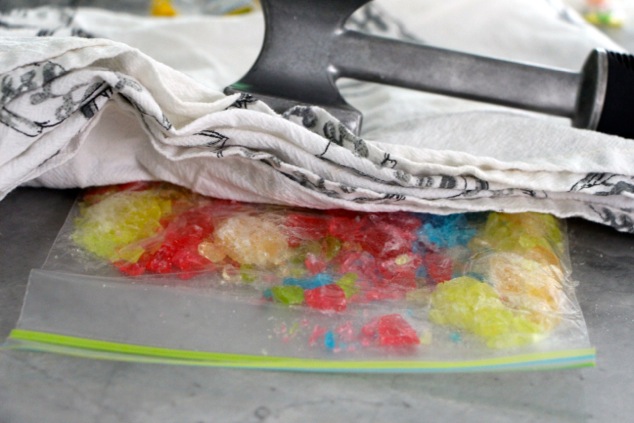 Let’s smash some candy!
Unwrap the hard candy and place in a sealed bag. Place a kitchen towel (or paper towel) under and over the sealed bag and use a meat tenderizer hammer (use the smooth side please…) or a heavy mug to smash the candies. This is fun, 🙂 but don’t get carried away – we just want to break them into pieces not to dust…
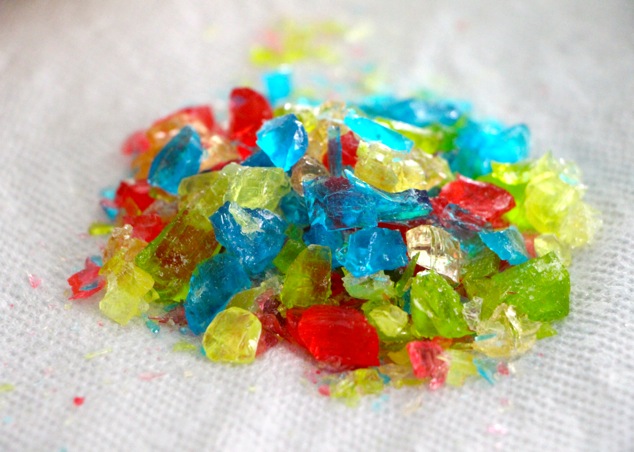
Look at these colorful looking candy pieces!
All there is left to do is to place the hard candy pieces inside the “cookie window”.
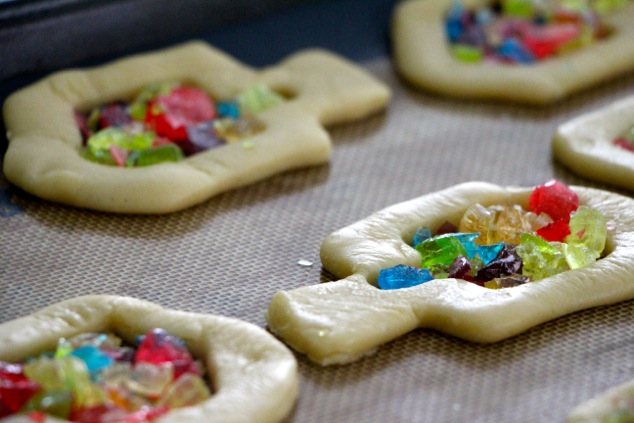 Make sure you are not over loading… You may choose to use one color, two colors or even all of them – like the kids decided for these cookies. Bear in mind that when the candy pieces melt in the oven, the colors sometimes get mixed…
We are all set!
Send your cookies to a preheated oven at 350°F and bake for 10-15 minutes… depends on the size of the cookies.
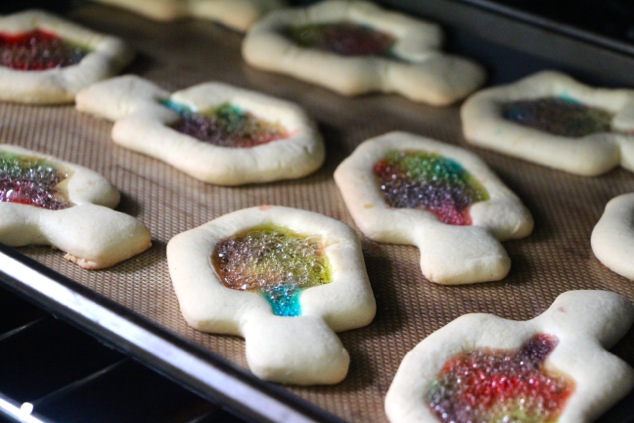 Take a look to see how the melting hard candy bubbles away…
Remove the cookies from the oven; watch out! the melted candy is super HOT! Let the cookies cool completely before touching them.
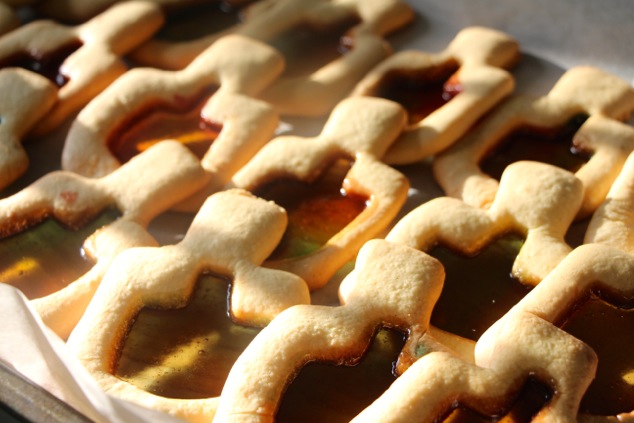
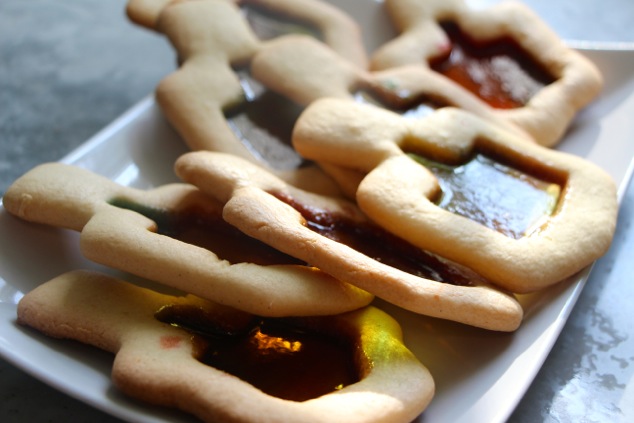
Once the cookies have cooled done, you can check out the pretty colors…
 Take a look at how cool some of these colors turned out! Can you see the light?
 —————————————————————————–
Quick Recipe:
Simple Sugar Cookies (with candy “window”)-
Whisk Eggs and Sugar to a light and fluffy mixture.
Add Vanilla Paste and Canola Oil and whisk to a unified mixture.
Sift in Flour and Baking Powder.
Mix into a unified dough.
Use your fingers to make sure dough is smooth and not sticky.
Roll the dough flat into about ¼ inch thickness.
Create cookies and transfer into a silicone or parchment paper covered baking sheet.
Create “cookie window” in the center of each cookie using a smaller cookie cutter.
Smash Hard Candy into pieces.
Add hard Candy pieces into each “cookie window”.
Bake in a preheated oven at 350°F for 12 minutes.
Let the cookies cool completely before removing.




Leave a Reply