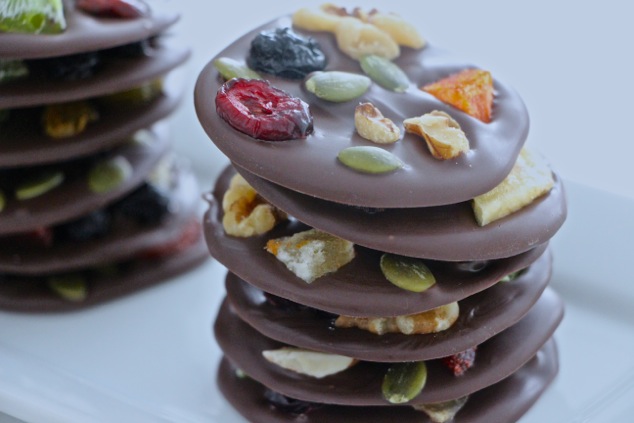
 Tu BiShvat is the Jewish birthday of trees. The name “Tu BiShvat” refers to the actual day – the 15th of the Jewish month of Shvat in which the holiday is celebrated. Honoring nature and the Land of Israel, planting trees, eating dried fruit and nuts are a big part of the celebration.
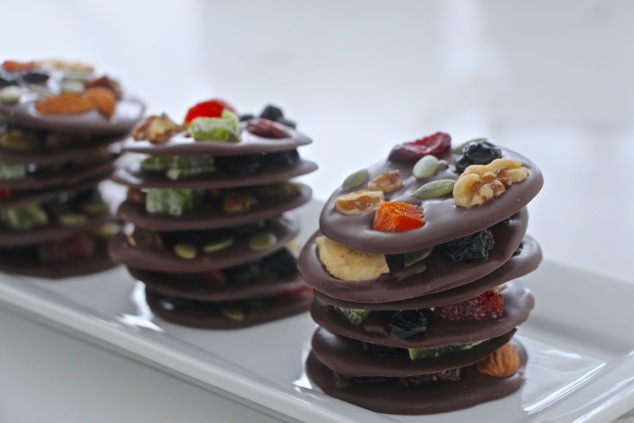
Growing up in Israel especially for the holiday, my Aba (father) would bring home different types of dried fruits and an assortment of nuts; he arranged them in sections on a big tray. It was a celebration of colors and flavors right at our holiday table. As a child, I loved trying the different dried fruit to discover their taste and choose my favorites. It made me wonder about the different flavors in dried fruit compared with fresh ones and made me want to explore in the kitchen with these ingredients. Making these special holiday treats, I am inspired by many chocolate treats ideas I saw online. I found that these are each such a beautiful and personal creation that display of all the beauty I remember from our family Tu BiShvat table.
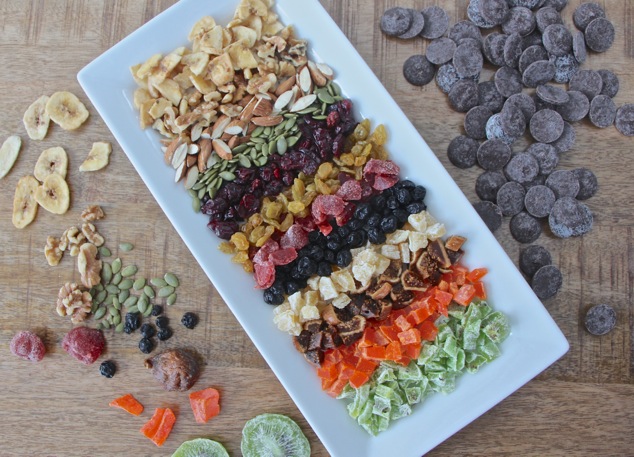 You will need:
[Makes about 20 circles]
250 gr. / 9 oz. Dark Chocolate
Dried Fruit of your choice
Almonds, Walnuts, Pumpkin Seeds
Parchment Paper
Let’s do this!
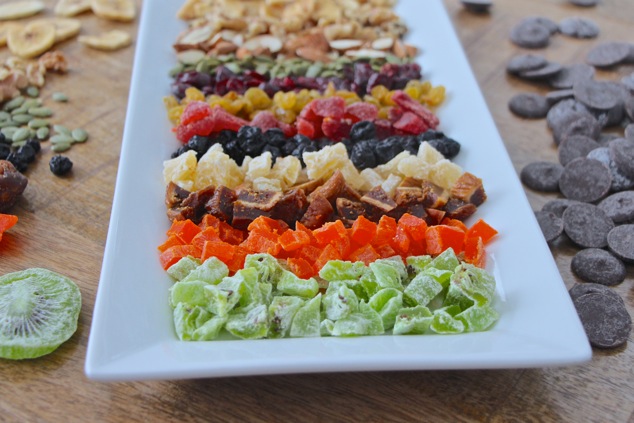 This is so much fun and as easy as it can get! Start by chopping and sorting the dried fruit and nuts. Use whatever makes you happy 🙂 I make sure to choose some of our favorites with a nice variety of colors, textures and shapes.
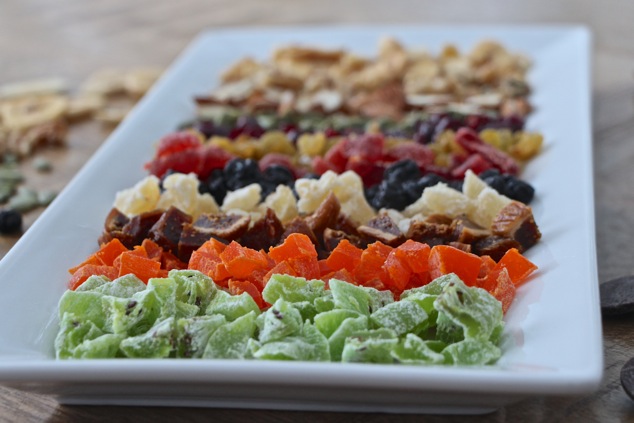 These will be elements to create the yummy art on top of the chocolate.
 Since we create chocolate circles, mark the circles in advance on a parchment paper. I think circles of 2-2.5 inches in diameter are the perfect size and my round small biscuit cutter is best for this task. Trace the circles on the parchment paper and then flip it over to the clean side. You can still see the circle lines, but the chocolate will not touch the pencil marks. These marks are good guidelines to create even looking chocolate circles.
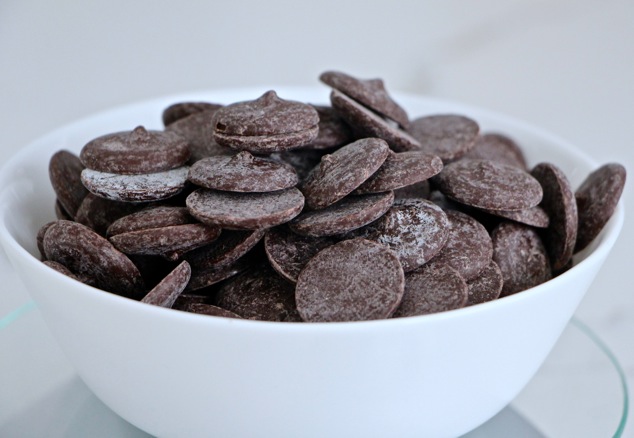 Now, let’s melt the chocolate…
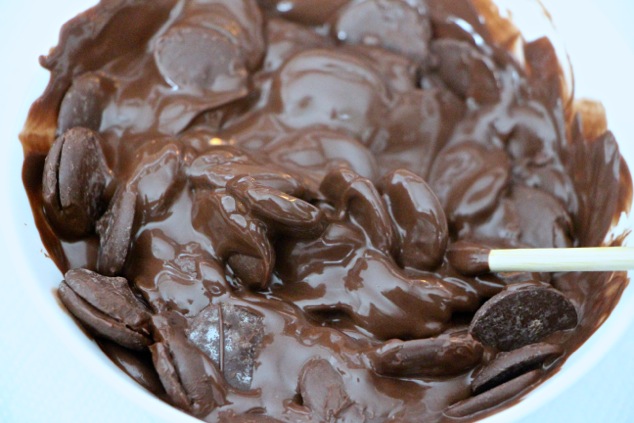
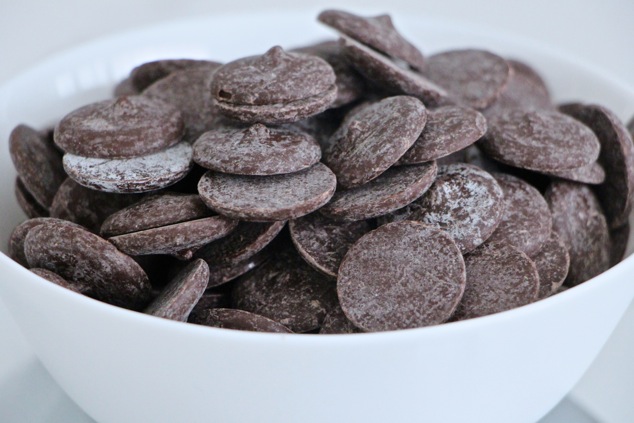 The easy way is the microwave way. Some key guidelines are to make sure you have the chocolate in small pieces in a microwavable dish.
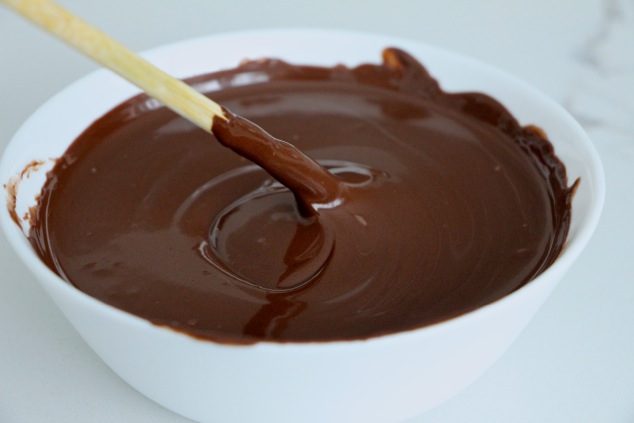
Make sure to use 20-30 seconds rounds at a time and stir well in between after each time. Repeat these stages until the chocolate is melted evenly and looks smooth. This is it!
Are you ready to get creative…
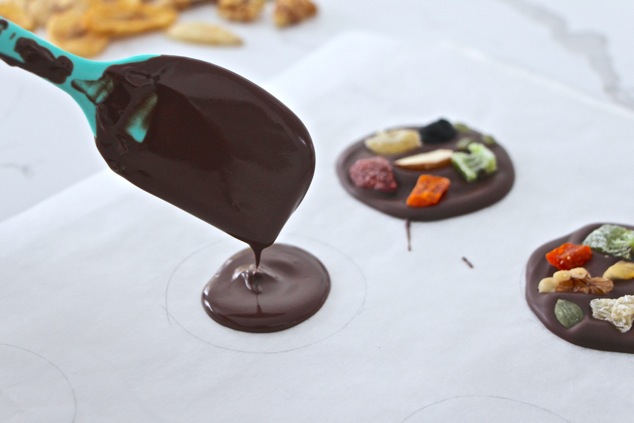
Make one circle at a time so the chocolate will not harden before you place the fruit and nut pieces.
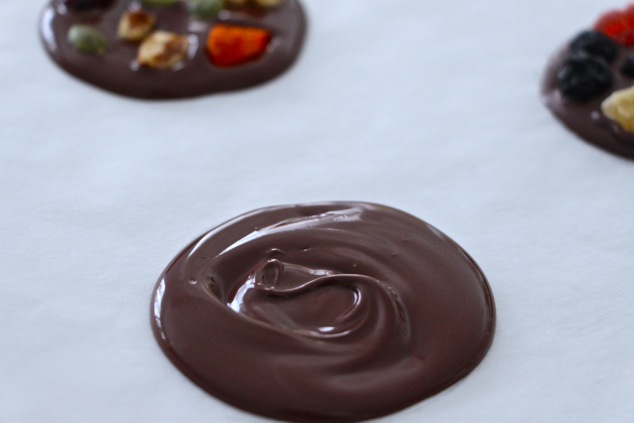
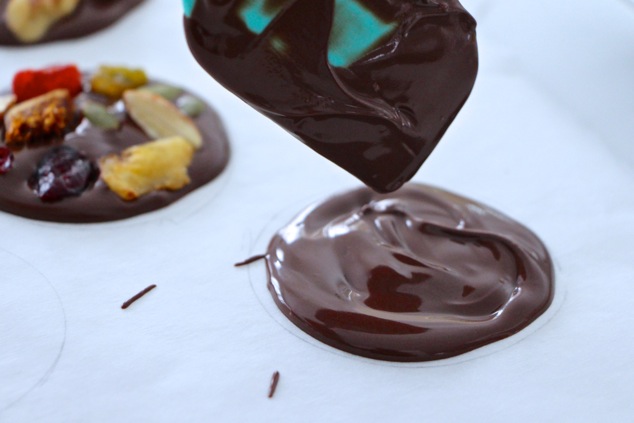
Use a small spatula or a spoon and place melted chocolate on the center of the circle and move it around slowly to the edges to create an even circle in shape and level.
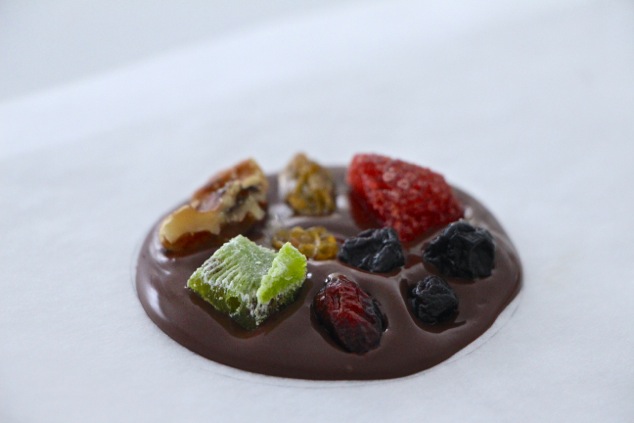
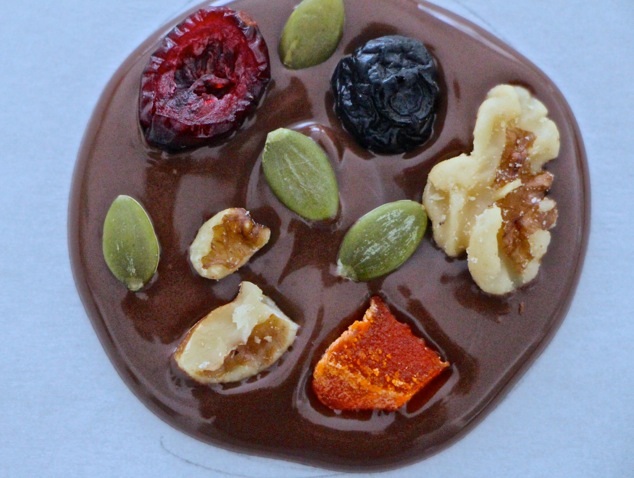 Now carefully, place the fruit pieces and nuts you like onto the chocolate.
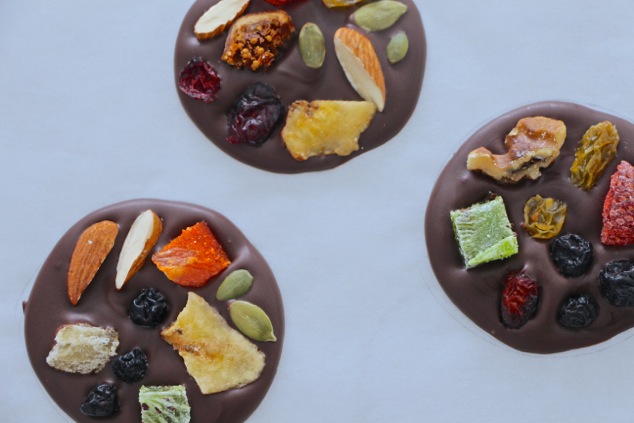
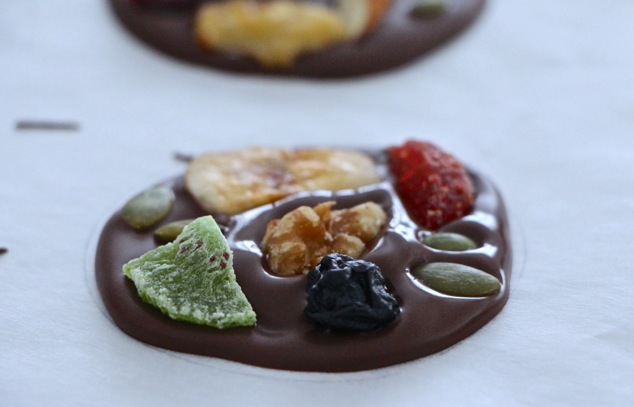 Get as creative as you like combining colors, shapes and textures.
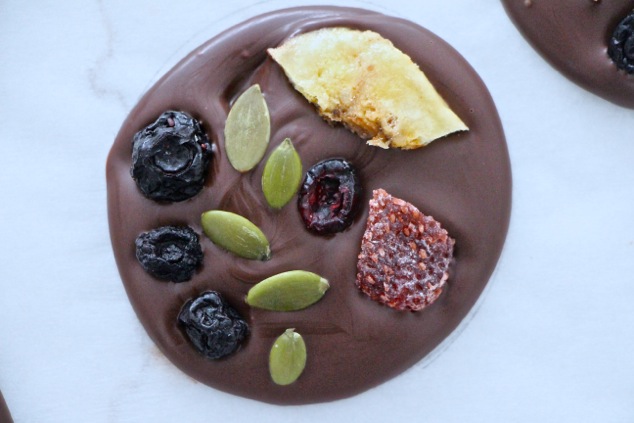
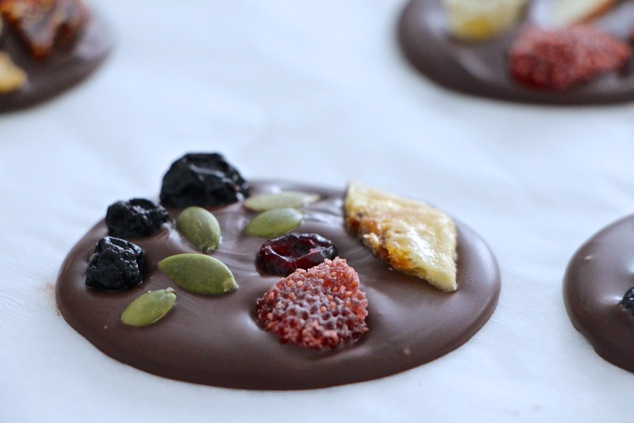 I love this type of activity; it requires patience and sometimes a steady hand, but it also guarantees to release the fun inner artistic side in you. 🙂
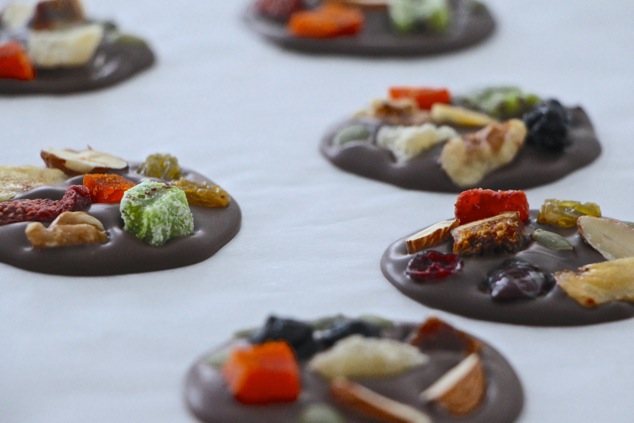
 You can also share this fun with kitchen partners of your choice.
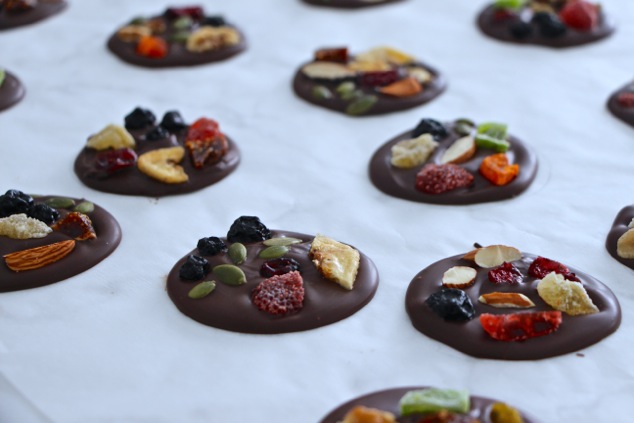 You may move the tray to the refrigerator to allow the chocolate circles harden and set completely. It was such a cold day here today that these set right on the counter after just a few minutes. Store in a sealed container in a cool place until you are ready to serve.
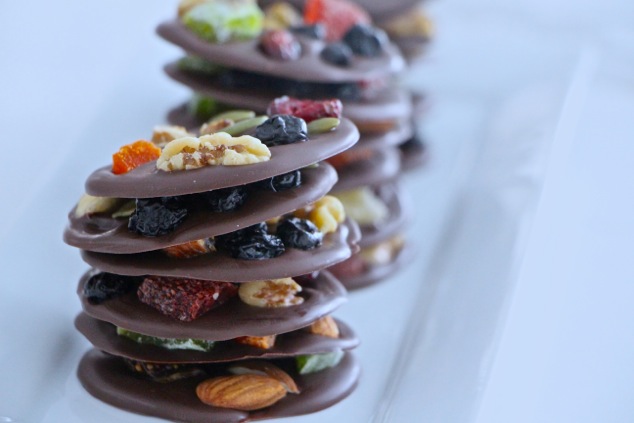 Enjoy the sweet treats and Happy Tu BiShvat!
 —————————————————————————
Quick Recipe:
Dark Chocolate Dried Fruit Circles-
Chop Dried Fruit and Nuts into small pieces.
Melt the Chocolate in microwave 30 seconds at a time and stir well in between.
Use a spatula and create a small circle (2-2½ inches diameter) onto a parchment paper.
Place the Nuts and Dried Fruit pieces gently.
Allow the chocolate circles to set and harden.
Remove gently from parchment paper and store in a sealed container in a cool place.


SUPER!!!
Thank you very much Mariana! I just love how simple, beautiful and tasty these are…
Stunning!!
Thank you so much Ann!
Thank you